Once again I have been playing with shapes and colors.
In the
present post I am showing you how to make Mandalas 3, 4, and 5.


You can see Mandalas 1 and 2 under the
title “Playing with Colors and Shapes” in my blog Crafy Lucy's Quilling. However, I did not write a tutorial of how
to do these 2.
I believe that after making mandalas 3 to 5 you will be able to
figure them out.
ღ✿ღ¸.•°*ღ´✿ ღ ღ✿ღ¸.•°*ღ´✿ ღ
First I will show you the shapes
you will be making and then I will proceed to explain how to make Mandalas 3 to 5.
ღ✿ღ¸.•°*ღ´✿ ღ ღ✿ღ¸.•°*ღ´✿ ღ
MATERIALS

ღ✿ღ¸.•°*ღ´✿ ღ ღ✿ღ¸.•°*ღ´✿ ღ
SHAPES
.
.
All the
mandalas are made with 5 mm wide paper strips of paper of different colors and lengths.
Of course you can choose your own preferred colors.
For these
mandalas you will be making these shapes.

ღ✿ღ¸.•°*ღ´✿ ღ ღ✿ღ¸.•°*ღ´✿ ღ
Now I will explain how to make each shape.
Loose
circle:
Take a 20 cm long strip of paper.
Using your quilling tool of choice, loosely roll a strip into a coil.
Remove the quilling tool and allow the roll to uncoil in circle 4.
glue the tip.
Using your quilling tool of choice, loosely roll a strip into a coil.
Remove the quilling tool and allow the roll to uncoil in circle 4.
glue the tip.

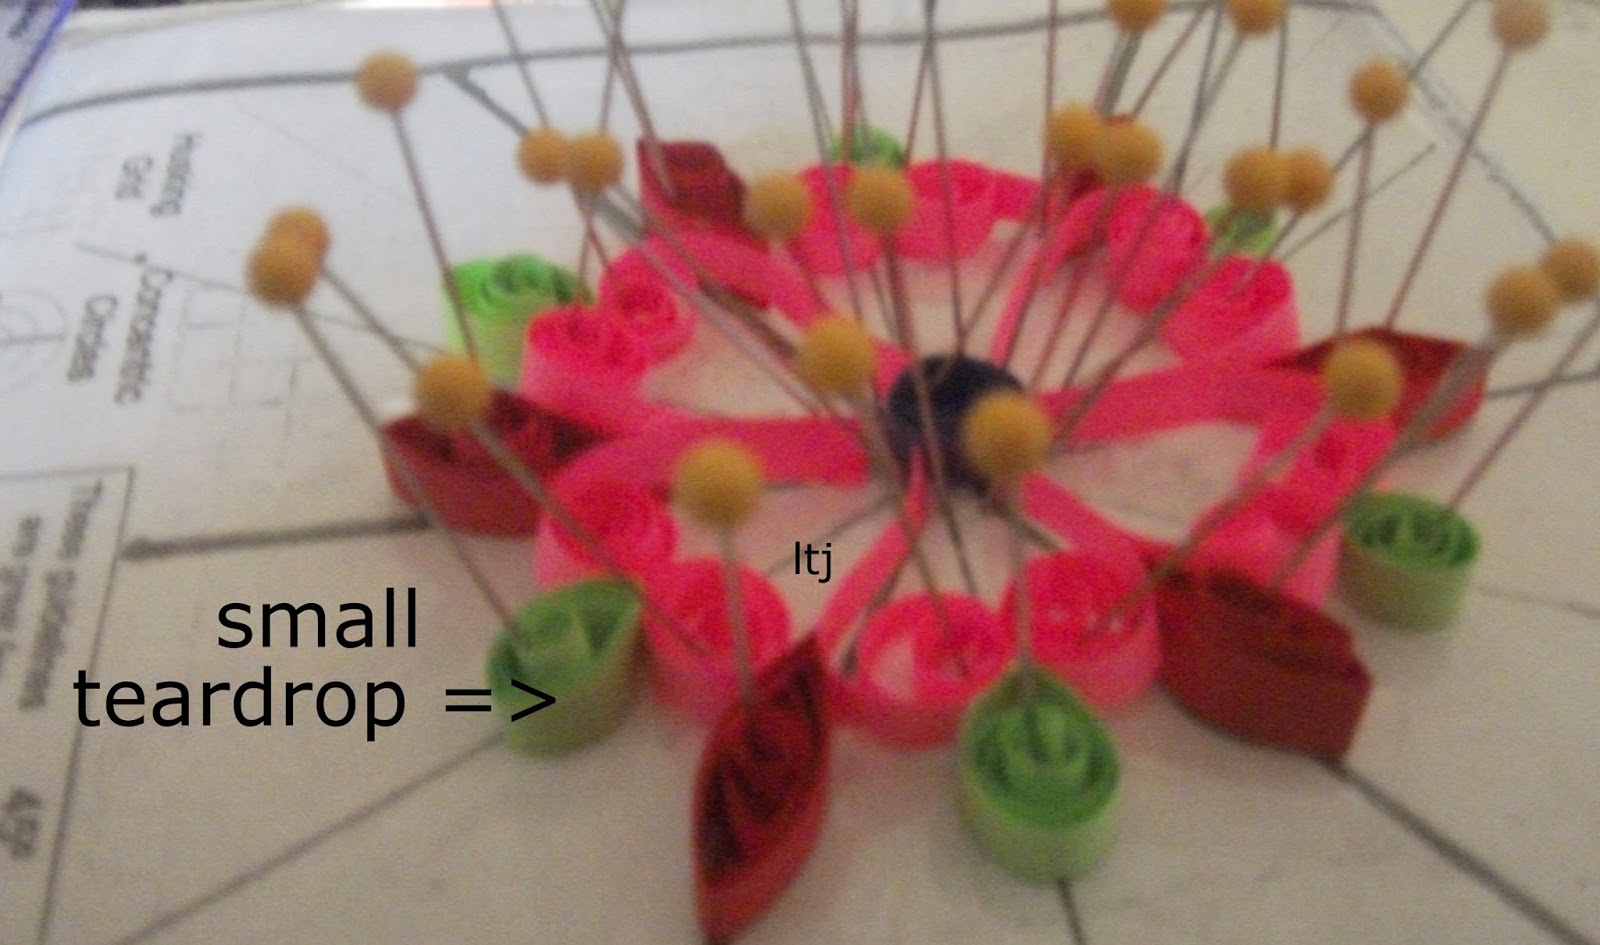
a – small: Take a 10 cm long strip of paper and roll it into
a loose circle 2.
Shape the loose circle into a teardrop.
Shape the loose circle into a teardrop.

b – large: Take a 20 cm long strip of paper and roll it into
a loose circle 3.
Shape the loose circle into a teardrop.
Shape the loose circle into a teardrop.

Marquise:
Take a 20 cm long strip of paper and roll it into a loose
circle 2

Shape the
loose circle into a marquise.

Open heart:
Take a 20 cm long strip of paper and fold it in half.
Loosely roll each end toward the center to form a heart shape. Do
not glue.

“S” Scroll:
Take a 15 cm long strip of paper. Loosely roll one end of a paper strip half-way down. Flip the
paper and loosely roll the other end in the opposite direction to form an
"S" shape. Do not glue.

Take a 20 cm long strip of paper.
Fold your strip of paper in half.
Loosely roll each end
outward to form a "V" shape. Do not glue.

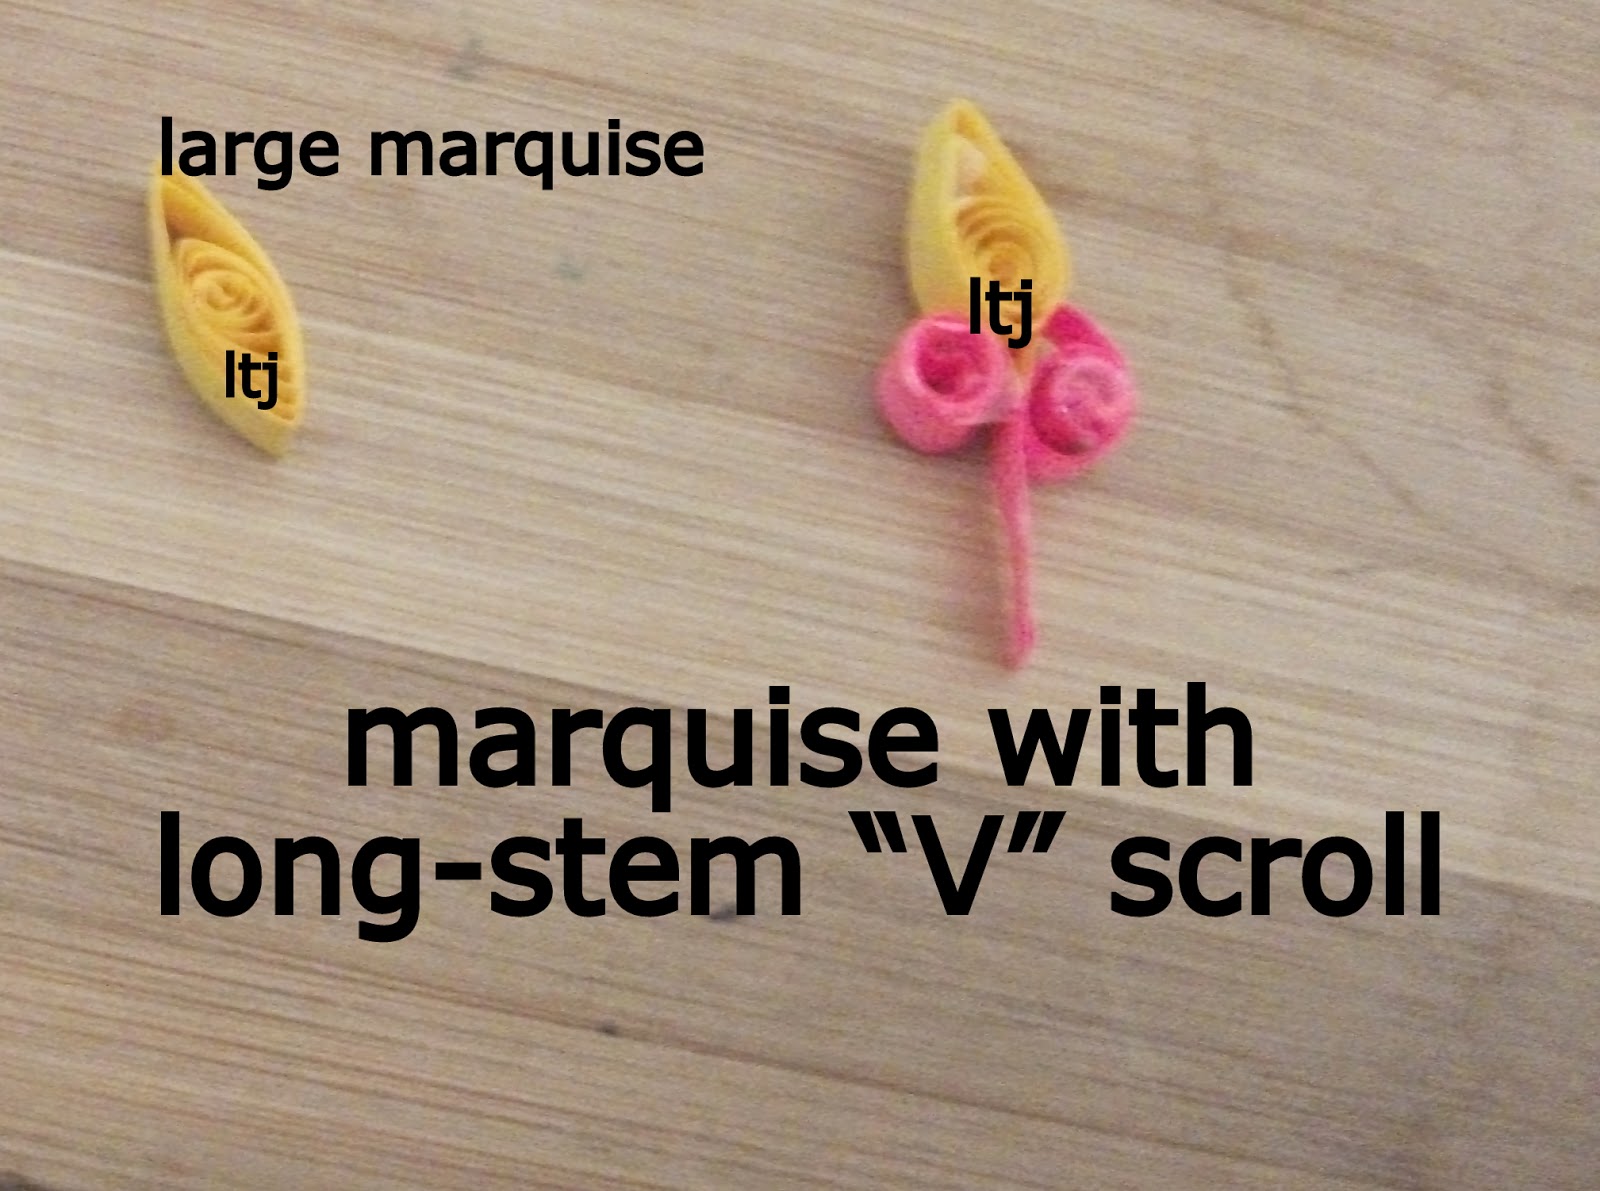
Long stem "V" scroll or Tall “V” Scroll (throughout this tutorial I will call it Tall "V" scroll):
Take a 20 cm long strip of paper and roll it into a
“V” scroll

Glue together 1.5 cm to make a
long “stem”
.JPG)
Tall “V” scroll with a marquise:
Make a tall “V” scroll and then glue a marquise on top.
“C” Scroll:
Take a 20 cm long strip of paper.
Loosely roll one end of a paper strip half-way down.
Flip the
paper and loosely roll the other end toward the center until it meets the loose
coil made from the other end and forms a "C" shape. Do not glue.

Double “C” Scroll:
Make 2 “C” scrolls and glue them together

ღ✿ღ¸.•°*ღ´✿ ღ ღ✿ღ¸.•°*ღ´✿ ღ
Now I will show you how I made each mandala.
MANDALA
3
Circle 1
Glue 6 yellow open
hearts around your quilling circle grid.

Make sure
that you follow the same circle.
Circle 2
Glue 6 blue large
teardrops on top of the open hearts according to the picture

Circle 3
Glue 6 green
double “C” scrolls according to the picture.

Circle 4
Glue 6 orange large
marquises on top of the double “C” scrolls.

Congratulations!!!!
You are ready to frame or glue Mandala 3 on a card.

ღ✿ღ¸.•°*ღ´✿ ღ ღ✿ღ¸.•°*ღ´✿ ღ
MANDALA
4
Circle 1
Place a blue
loose circle in the center of your circular quilling grid.
the circle should be 1 cm in diameter.

Circle 2
Glue 6 pink tall
“V” scrolls around the loose circle, following the lines/angles on your quilling grid.

Make sure
that you follow the circle on your grid.
Circle 3
Glue a red
large marquise on each tall "V" scroll according to the picture.

Glue a green
small teardrop between each tall “V” scroll according to the picture.
Circle 4
Glue two
blue “S” scrolls according to the picture.
Make sure that you leave a small spae on top of the green teardrop.
Make sure
that you follow the same circle in your quilling grid

Circle 5
Glue a yellow tall “V” scroll with an orange marquise on top between the “S”
scrolls.
Glue them according to the picture.

Circle 6
Glue a small green teardrop on top of the “S” scrolls according to the picture.

Congratulations!!!!
You are ready to frame or glue Mandala 4 on a card.

ღ✿ღ¸.•°*ღ´✿ ღ ღ✿ღ¸.•°*ღ´✿ ღ
MADALA
5
Circle 1
Glue 3
yellow large teardrops in the center of your quilling circle grid.

Circle 2
Glue 6 red “S”
scrolls between the teardrops, according to the picture


Circle 3
Glue an orange open heart at the point where the “S” scrolls touch, according to the
picture.

Circle 4
Glue 6 pink
“V” scrolls between the open hearts, according to the picture.

Circle 5
On top of the open hearts that you glued in Circle 3, glue 6 blue tall “V” scrolls with a large green marquise on top.

Congratulations!!!!
You are ready to frame or glue Mandala 5 on a card.

Congratulations!!!!!! You graduated in making mandalas.
♪♫•*¨*•.¸ ♪♫•*¨*•.¸¸ ¸¸.•
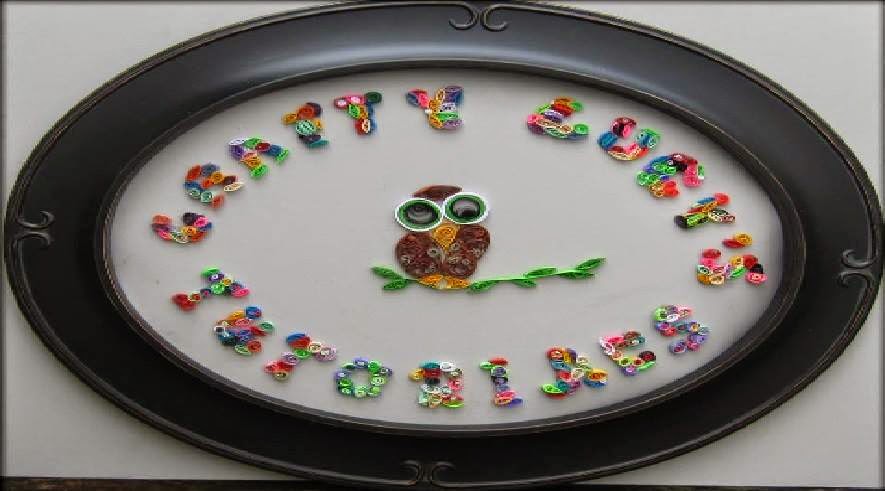
This is how they look once framed.


This is how they look once framed.
Thank
you for visiting me and Happy Quilling!
o,o}
/)__) Crafty Lucy
-"-"-. •*´¨`*•.¸¸
/)__) Crafty Lucy
-"-"-. •*´¨`*•.¸¸
♪♫•*¨*•.¸ ♪♫•*¨*•.¸¸ ¸¸.• Hope to see you
again!