Thursday, January 15, 2015

Writing multicolored letters


Materials needed:


You are going to be using all 3mm wide and 10 cm long multicolored quilling paper strips. 
The basic quilled shape that you are going to use is a loose circle. You will then be shaping each loose circle according to need. 
Procedure: 

The first thing I did to make the logo was find letters to use as a model.
The first ones I found were these 8 cm high letters


With these letters I wrote what I wanted to say in my logos,


but they seemed too big. 
I placed these letters on a white sheet of copy paper and then took a picture of the words. 
With the computer, I reduced their size to 3 cm high and made a template on another white sheet of copy paper.


Using different color 3mm wide and 10 cm long paper strips I made plenty loose circles. 


I placed these loose circles on my template and, one at a time, I shaped these circles with the help of pins.   
I put as many shapes and pins as needed to form each letter. If you scroll down I will have detailed pictures to show you how I did it.


The first line in my logo reads “Crafty Lucy’s”


After finishing the first line I decided to change the typeface.
This time I used some wooden letters, also 3 cm high, which I found in a store that sells craft materials


With these letters I wrote the words to see how they looked,


After deciding that I liked it, once again I wrote the necessary words on a piece of copy paper, carefully tracing each letter on a regular sheet of copy paper.


Using the same method I used to write "Crafty Lucy's", I "wrote" the words “Tips, Quilling, and Tutorials.”


As I have 3 blogs, the final work took 367 circles and 429 straight pins. 
Once I removed all the pins, this is how the words look like.  


All this work took me 7 days, working about 6 hours each.  The "writing" of the words took me 4 days. 

Now I have to quill an owl for each blog and finish the logos.


♥°♥ ¸¸.•´¨`»«´¨ •.¸¸♥.°♥

The method of using straight pins to help you shape letters may be used in any project where you are tracing/filling shapes or areas on a drawing.

♥°♥ ¸¸.•´¨`»«´¨ •.¸¸♥.°♥

I hope that this tutorial was useful. I wish you a happy quilling!

( ¯'v´¯) ★★★★
.`•.¸.•↓↓↓↓↓ ↓↓↓↓↓

Thank you for visiting me ☆☆☆☆

¸.•´.•´¨) ¸.•¨) ¸.• °*”˜˜”*° • Crafty Lucy ☆ ☆¸.• °*"˜˜"*° •.★★¸°*"˜˜"*° •
(¸.•´(¸.•´ (¸.•¨¯`*
¸.•°°• ☆☆☆☆*° •. *° •★★

´¯`*.¸¸´¯`*.¸¸ I hope to see you again ´¯`*•.¸¸¯`*•.¸

Monday, December 15, 2014

PLAYING WITH SHAPES AND COLORS 2:


Once again I have been playing with shapes and colors. 

In the present post I am showing you how to make Mandalas 3, 4, and 5.


You can see Mandalas 1 and 2 under the title “Playing with Colors and Shapes” in my blog  Crafy Lucy's Quilling.  However, I did not write a tutorial of how to do these 2. 
I believe that after making mandalas 3 to 5 you will be able to figure them out. 


¸.•°*´  ¸.•°*´ ღ 

First I will show you the shapes you will be making and then I will proceed to explain how to make Mandalas 3 to 5. 


¸.•°*´  ¸.•°*´ ღ 

MATERIALS

 You will need the following tools/materials.


 ¸.•°*´  ¸.•°*´ ღ 

SHAPES 
.
All the mandalas are made with 5 mm wide paper strips of paper of different colors and lengths.

Of course you can choose your own  preferred colors.


For these mandalas you will be making these shapes.


¸.•°*´  ¸.•°*´ ღ 

Now I will explain how to make each shape.


Loose circle: 
Take a 20 cm long strip of paper.
Using your quilling tool of choice, loosely roll a strip into a coil. 
Remove the quilling tool and allow the roll to uncoil in circle 4. 
glue the tip.


  Teardrops: 
a – small:  Take a 10 cm long strip of paper and roll it into a loose circle 2.   

                Shape the loose circle into a teardrop.


b – large: Take a 20 cm long strip of paper and roll it into a loose circle 3.  
          
      Shape the loose circle into a teardrop.


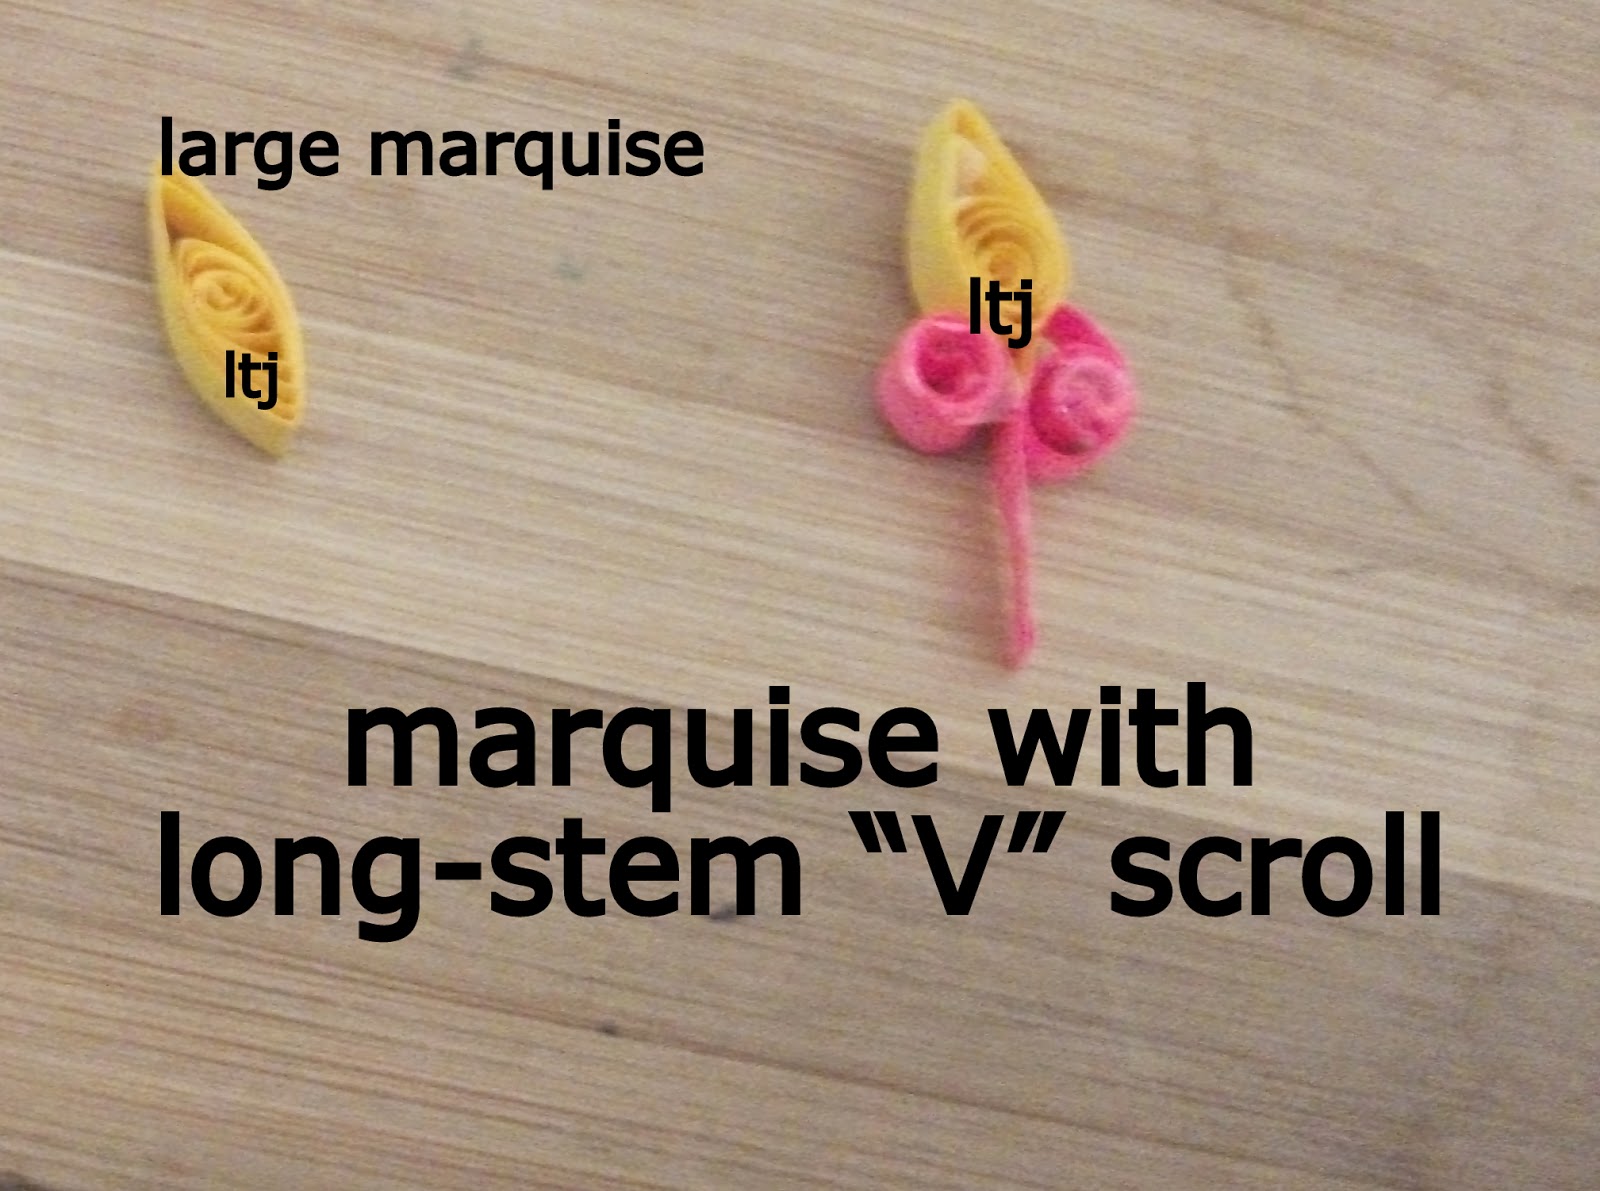
Marquise: 
 Take a 20 cm long strip of paper and roll it into a loose circle 2


 Shape the loose circle into a marquise.


Open heart: 
Take a 20 cm long strip of paper and fold it in half. 

Loosely roll each end toward the center to form a heart shape. Do not glue.


“S” Scroll:
Take a 15 cm long strip of paper. Loosely roll one end of a paper strip half-way down. Flip the paper and loosely roll the other end in the opposite direction to form an "S" shape. Do not glue.


“V” Scroll:  

Take a 20 cm long strip of paper. 
Fold your strip of paper in half. 
Loosely roll each end outward to form a "V" shape. Do not glue.


Long stem "V" scroll or Tall “V” Scroll (throughout this tutorial I will call it Tall "V" scroll): 
Take a 20 cm long strip of paper and roll it into a “V” scroll


  Glue together 1.5 cm to make a long “stem” 


Tall “V” scroll with a marquise:
Make a tall “V” scroll and then glue a marquise on top. 


“C” Scroll: 
Take a 20 cm long strip of paper.
 Loosely roll one end of a paper strip half-way down. 
Flip the paper and loosely roll the other end toward the center until it meets the loose coil made from the other end and forms a "C" shape. Do not glue.


Double “C” Scroll:   
Make 2 “C” scrolls and glue them together 


¸.•°*´  ¸.•°*´ ღ 

 Now I will show you how I made each mandala. 


MANDALA 3

Circle 1 

Glue 6 yellow open hearts around your quilling circle grid. 


Make sure that you follow the same circle. 

Circle 2

Glue 6 blue large teardrops on top of the open hearts according to the picture


Circle 3
Glue 6 green double “C” scrolls according to the picture. 


Circle 4

Glue 6 orange large marquises on top of the double “C” scrolls. 


Congratulations!!!! You are ready to frame or glue Mandala 3 on a card.


¸.•°*´  ¸.•°*´


MANDALA 4


Circle 1

Place a blue loose circle in the center of your circular quilling grid. 
the circle should be 1 cm in diameter. 


Circle 2

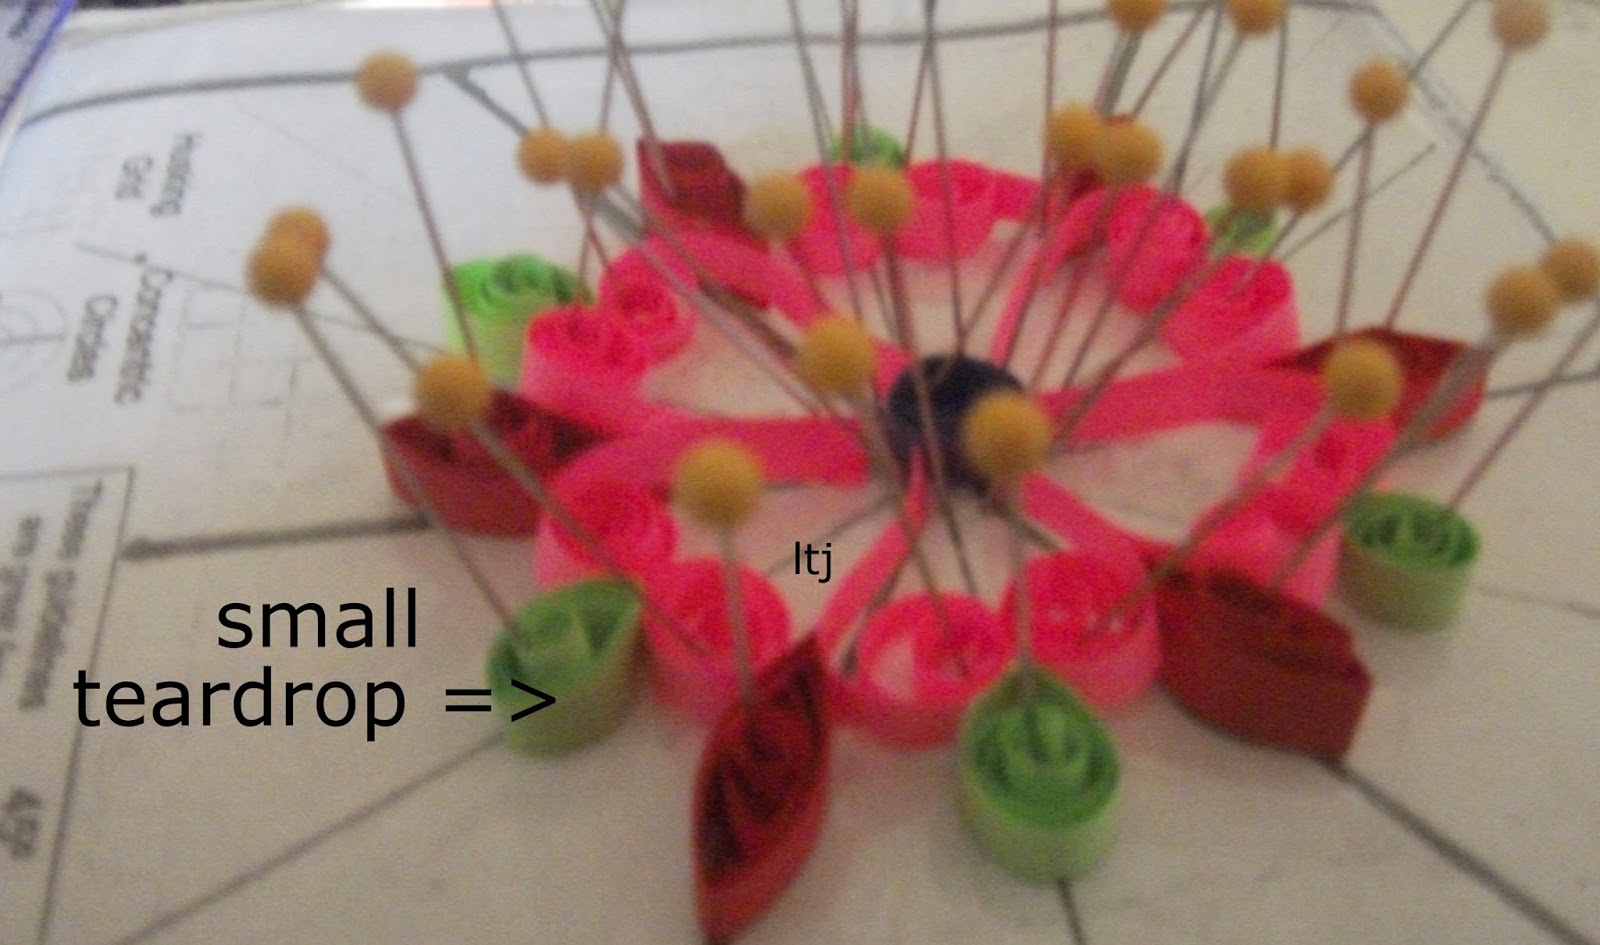
Glue 6 pink tall “V” scrolls around the loose circle, following the lines/angles on your quilling grid.


Make sure that you follow the circle on your grid. 

Circle 3

Glue a red large marquise on each tall "V" scroll according to the picture. 


 Glue a green small teardrop between each tall “V” scroll according to the picture.


Circle 4

Glue two blue “S” scrolls according to the picture. 
Make sure that you leave a small spae on top of the green teardrop. 
Make sure that you follow the same circle in your quilling grid


Circle 5

Glue a yellow tall “V” scroll with an orange marquise on top between the “S” scrolls.
Glue them according to the picture. 


Circle 6
Glue a small green teardrop on top of the “S” scrolls according to the picture. 


Congratulations!!!! You are ready to frame or glue Mandala 4 on a card.


¸.•°*´  ¸.•°*´
 
MADALA 5

Circle 1 

Glue 3 yellow large teardrops in the center of your quilling circle grid. 


Circle 2

Glue 6 red “S” scrolls between the teardrops, according to the picture


Circle 3

Glue an orange open heart at the point where the “S” scrolls touch, according to the picture. 


Circle 4

Glue 6 pink  “V” scrolls between the open hearts, according to the picture.


Circle 5

On top of the open hearts that you glued in Circle 3, glue 6 blue tall “V” scrolls with a large green marquise on top.


Congratulations!!!! You are ready to frame or glue Mandala 5 on a card.


Congratulations!!!!!! You graduated in making mandalas. 
♪♫*¨*.¸ ♪♫*¨*.¸¸ ¸¸.

 This is how they look once framed.


Thank you for visiting me and Happy Quilling!

o,o}
/)__)                              Crafty Lucy
-"-"-. •*´¨`*•.¸¸

♪♫*¨*.¸ ♪♫*¨*.¸¸ ¸¸. Hope to see you again!