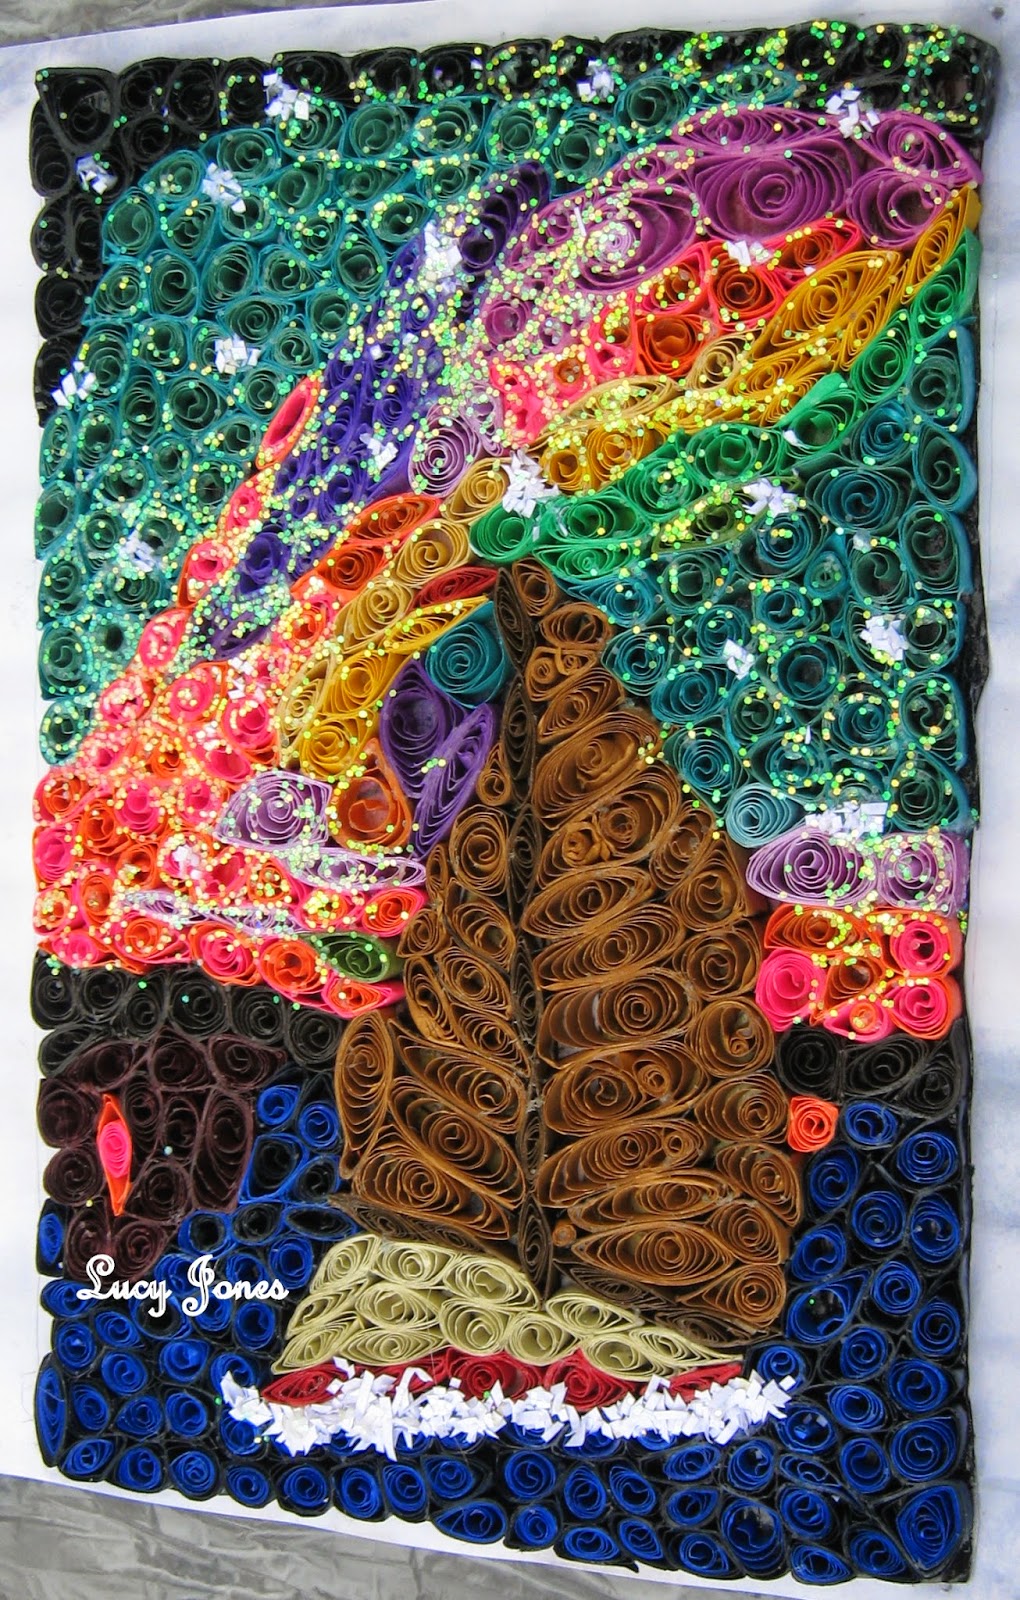
While
participating in a quill-along, one of the group members posted this picture.
I liked it
so much that I decided that I would take the challenge to quill it.
Therefore, I proceeded to print it to an 8"x10" (20 cm x 25 cm) size.
Well, being
a lake or pond scene I thought it needed something else. After thinking for
quite a while I decided that a sailboat would be appropriate
I found the
perfect image of a sailboat in one of my church’s bulletin. So, I cut it out
and glued it on the picture with the Aurora Borealis as a
background.
To make the
sails I first outlined the “veins” with dark gray paper strips:
I took a full length of a paper strip, and
fold it in half.
Glue the
halves together.
Folded it in
half once more.
Glue the
halves together. Therefore, I was working with 1/4 strips as a time.
Measure each
“vein” and cut the segment.
Glue each segment
on the “vein” (black horizontal line).
Hold the “new
veins” in place by propping them up with straight pins.
After I had
all the “veins” ready, I filled in the spaces with marquises or teardrops.
To make this
picture I used 5mm wide and 22 cm long paper strips in different colors
and
shapes.
It was a
real challenge to come up with the right colors for the Aurora Borealis. I
tried several things and finally came up with the solution. I glued 2 different
colored paper strips together (pink and orange, blue and teal, dark blue and black). Each color was 11 cm long.
♥°♥ ¸¸.•´¨`»«´¨ •.¸¸♥.°♥ TIP ♥°♥ ¸¸.•´¨`»«´¨ •.¸¸♥.°♥
I used a
ruler to make sure that I followed a straight line and that I stayed within the
boundaries while gluing the shapes on the border.
For the
corners I used straight pins to keep the rulers propped up while waiting for
the glue to dry,
♥°♥ ¸¸.•´¨`»«´¨ •.¸¸♥.°♥¸¸.•´¨`»«´¨ •.¸¸♥.°♥
Once the
picture was finished I wanted to create the Aurora Borealis effect: the stars
and the star dust.
To make the
stars in the Aurora Borealis and the phosphorescence created by the waves when
splashing against the sailboat I used “fairy dust” as created by fellow quiller
Diane Boden
To create
the effect of the star dust in the Aurora Borealis I used about a half teaspoon
of white glitter mixed with an ounce of white glue and then spread it on the surface using a sponge brush.
Once the
glue was dry, it was ready to frame.
(¯`v´¯)
`*.¸.*´
¸.•´¸.•*¨) ¸.•*¨)
(¸.•´ (¸.•´ .•´ ¸¸.•¨¯`•.•:*¨¨*:•..•:*¨¨*:•..•:*¨¨*:•..•...
┊ ┊ ☆
┊ ★
☆
I hope that this tutorial
was useful.
Thank you for
visiting me ☆☆☆☆
¸.•´.•´¨) ¸.•¨) ☆¸.• °*”˜˜”*° •.¸ Crafty Lucy ☆ ☆¸.• °*"˜˜"*° •.★★¸°*"˜˜"*° •.¸☆
(¸.•´(¸.•´ (¸.•¨¯`*
☆¸.•°°•.¸☆ ☆☆☆☆*° •.☆ *° •★★
♥´¯`*•.¸¸✿´¯`*•.¸¸✿ I hope to see you again ✿´¯`*•.¸¸✿¯`*•.¸¸♥